Find out how to create and use a self-signed SSL certificate on MacOS for your Node.js application.
To create a self-signed SSL certificate for Node.js on MacOS, you can follow below steps.
Generate a Self-Signed SSL Certificate for Node.js on MacOS (with Code Examples)
Here’s a concise guide:
- Open a Terminal window.
Use the openssl command-line tool to generate a private key and a certificate signing request (CSR). Run the following command:
openssl req -nodes -new -x509 -keyout server.key -out server.crt- You will be prompted to enter some information, like Country Name (2 letter code), State or Province Name, Locality Name, Organization Name, Organizational Unit Name, Email Address, and Common Name (CN). The CN should be the domain name or IP address of your server.
- The
server.keyandserver.crtfiles will be created in the current directory upon entry of the data. The
server.keyandserver.crtfiles that were generated can now be used in your Node.js application. Here is an example of using the self-signed certificate in a Node.js server application:example.js Node.js application const fs = require('fs'); const https = require('https'); const serverOptions = { key: fs.readFileSync('server.key'), cert: fs.readFileSync('server.crt') }; const requestListener = (_req, res) => { res.writeHead(200); res.end('Hello, World!'); }; const server = https.createServer(serverOptions, requestListener); const serverPort = 444; const listeningListener = () => { console.log(`Server listening on port ${serverPort}`); }; server.listen(serverPort, listeningListener);Note that in the example above, port 444 is used to avoid conflicts like
Error: listen EADDRINUSE: address already in use :::443. You can change it to any other available port if needed. The default port forHTTPSis 443.
By doing this, your domain will get a self-signed SSL certificate. Then, you may secure your Node.js server by using this certificate.
Authors can tell Node.js to interpret JavaScript as an ES module via the
.mjsfile extension, thepackage.json"type"field with a value"module", the--input-typeflag with a value of"module", or the--experimental-default-typeflag with a value of"module". These are explicit markers of code being intended to run as an ES module.
Inspecting Node.js code
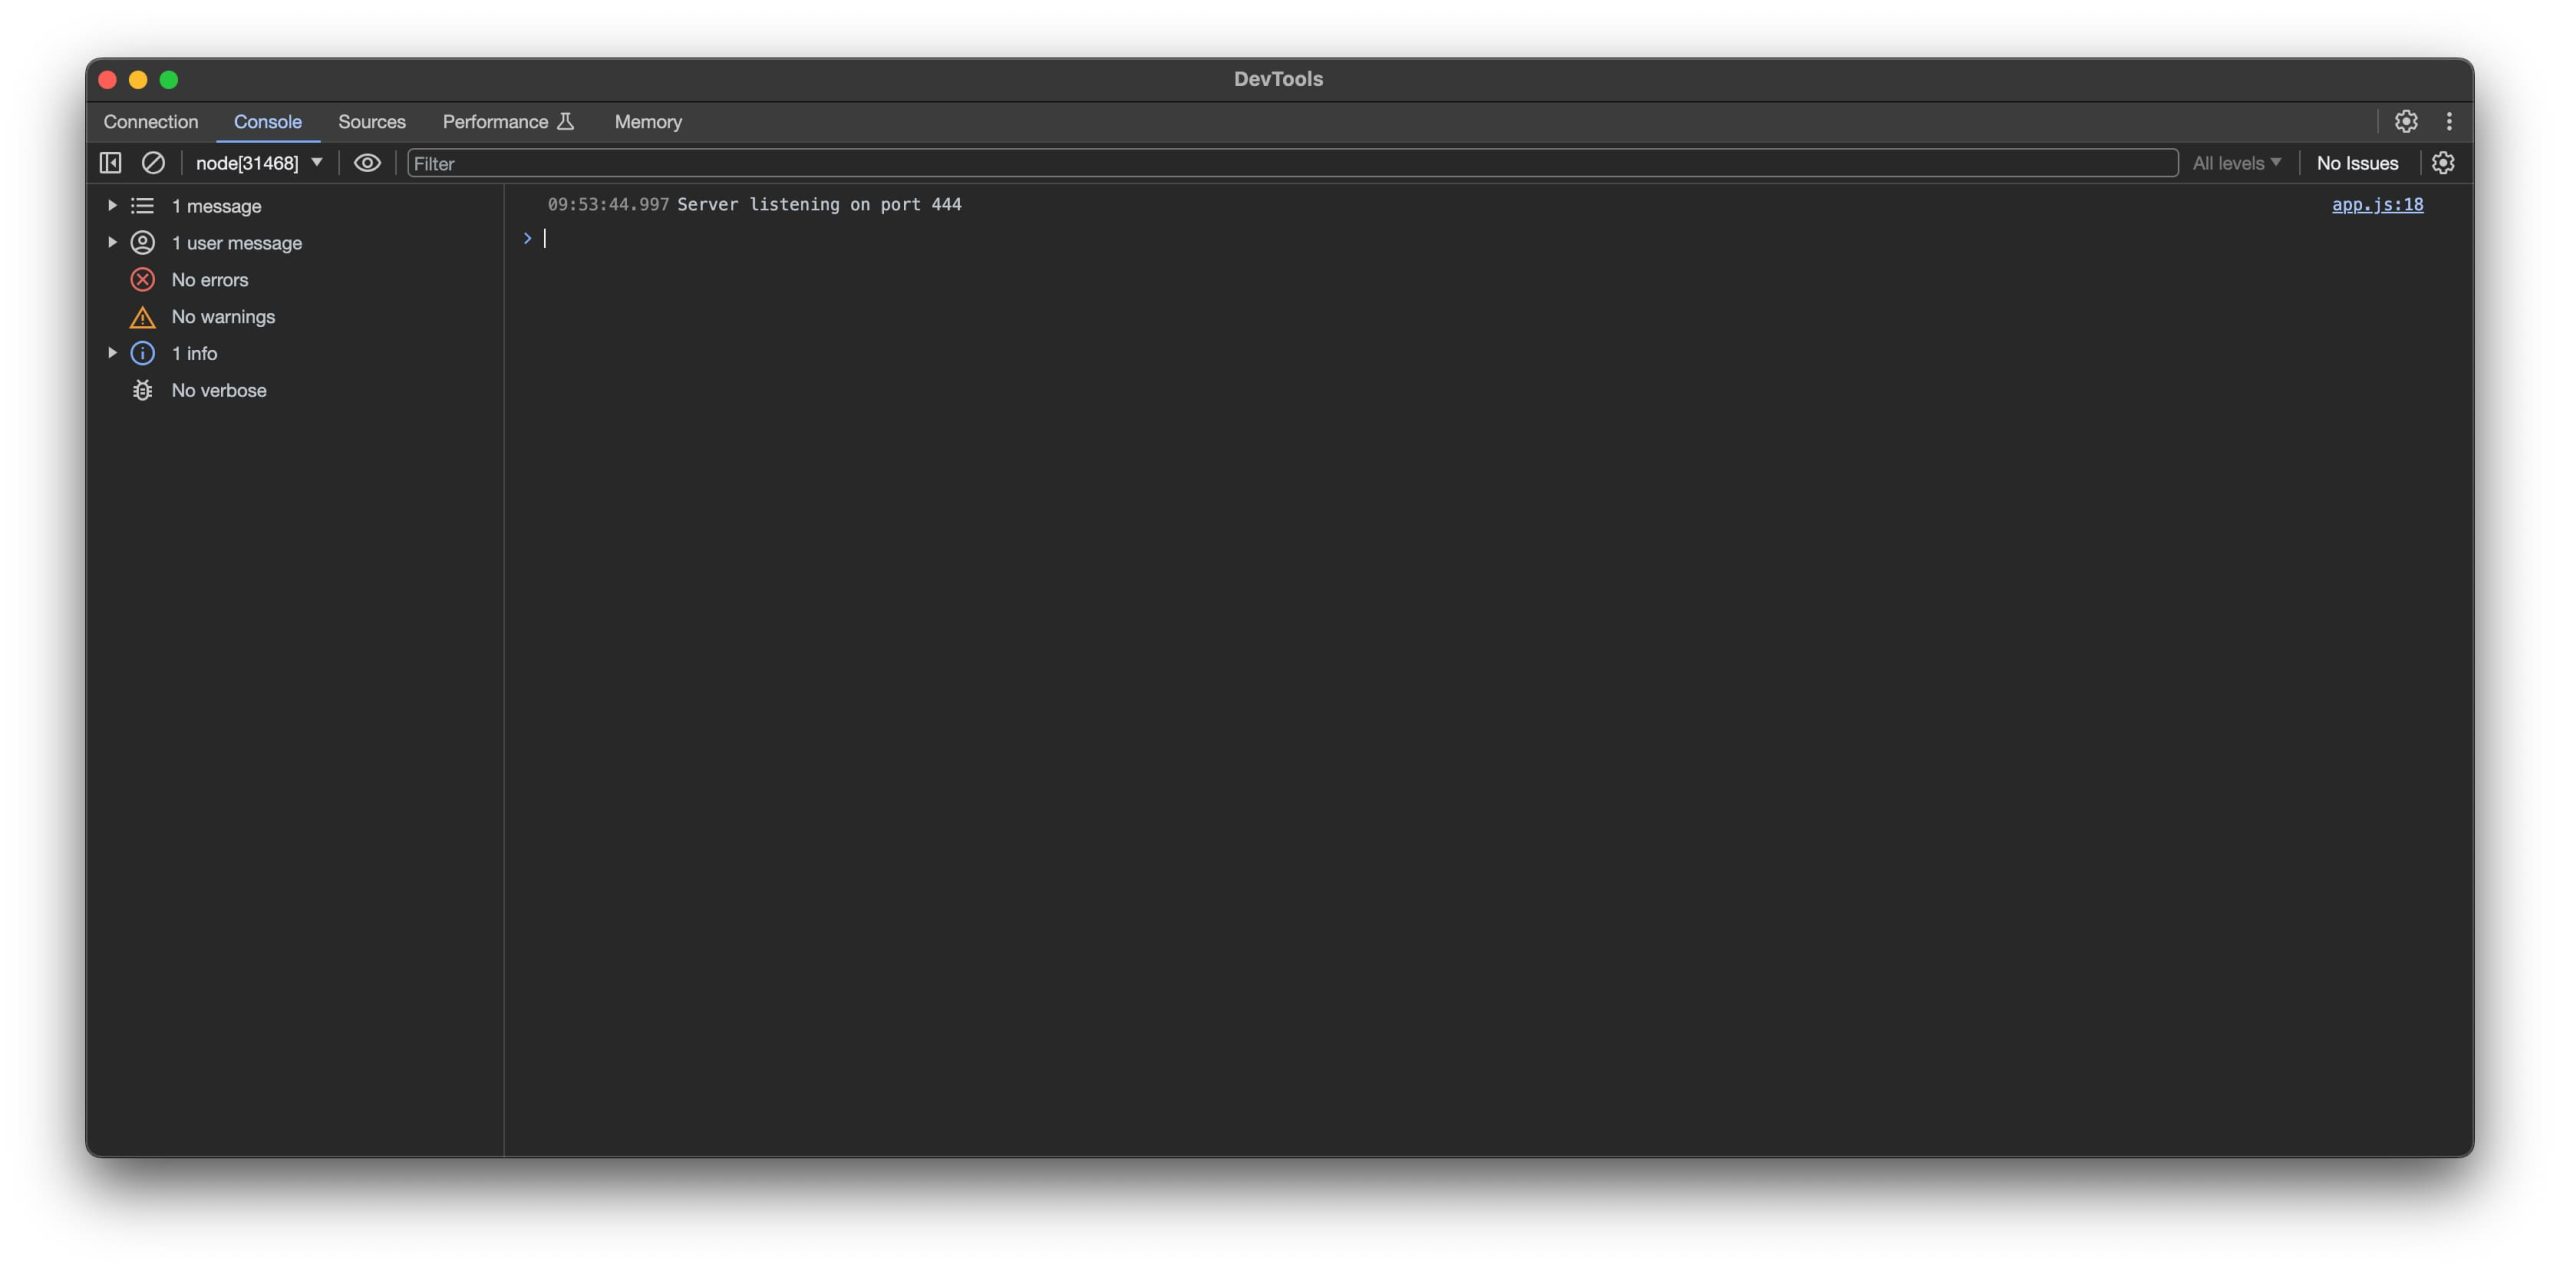
The provided code you may run also with the --inspect option: node --inspect example.js. When started with the --inspect switch, a Node.js process listens for a debugging client. By default, it will listen at host and port 127.0.0.1:9229. Each process is also assigned a unique UUID.
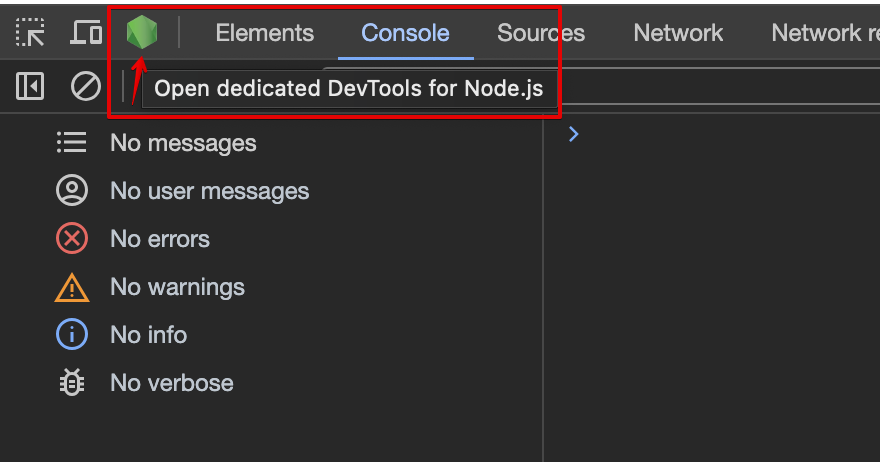
You can also debug the code in the Chromium-based browser. Run the application with the --inspect option and open developer tools. You should see a green icon that allows you to inspect and debug your application.
Comments